[IntelliJ] 게시판 글 작성
build.gradle 추가
프로젝트 생성 후 build.gradle 파일의 dependencies 에
쉬운 화면 구성을 위해
runtimeOnly 'org.webjars:bootstrap:4.5.0' 을 추가한다.
* bootstrap 을 사용하면 별도의 디자인 없이도 깔끔한 디자인이 가능하다.
dependencies {
	implementation 'org.springframework.boot:spring-boot-starter-data-jpa'
	implementation 'org.springframework.boot:spring-boot-starter-thymeleaf'
	implementation 'org.springframework.boot:spring-boot-starter-web'
	compileOnly 'org.projectlombok:lombok'
	runtimeOnly 'mysql:mysql-connector-java'
	annotationProcessor 'org.projectlombok:lombok'
	testImplementation('org.springframework.boot:spring-boot-starter-test') {
		exclude group: 'org.junit.vintage', module: 'junit-vintage-engine'
	}
	runtimeOnly 'org.webjars:bootstrap:4.5.0' //부트스트랩 추가 - 쉬운 화면 구성
}
MySQL 데이터베이스 생성 및 설정

- example 데이터베이스 생성
- user라는 사용자, pw : UserPassword
- user 사용자에게 example 데이터베이스의
모든 권한을 준다.
application.properties 작성
- 스프링부트가 애플리케이션을 구동할 때 자동으로 로딩하는 파일
- key-value 형식으로 저장된다.
spring.jpa.hibernate.ddl-auto=update
spring.datasource.url=jdbc:mysql://${MYSQL_HOST:localhost}:3306/example?serverTimezone=Asia/Seoul&characterEncoding=UTF-8
spring.datasource.username=user
spring.datasource.password=UserPassword
- spring.jpa.hibernate.ddl-auto
- none
- update : 변경된 스키마만 적용
- validate : 변경된 스키마 있는지 확인만 한다. 변경이 있을 경우 Application 종료
- create : 시작할 때만 drop하고 다시 생성
- create-drop : 시작과 종료에서 모두 drop
- spring.datasource.url
- serverTimezone : 서버 시간을 'Asia/Seoul'로 설정
- characterEncoding : 인코딩 방식을 'UTF-8'로 설정
게시판 관련 html 작성
resources/templates 에 board 폴더 생성 후 list.html, post.html을 작성한다.
1. list.html - 글 목록
<!DOCTYPE html>
<html lang="ko" xmlns:th="http://www.thymeleaf.org">
<head>
    <meta charset="UTF-8">
    <title>게시판 - 목록</title>
    <link rel='stylesheet' href='/webjars/bootstrap/4.5.0/css/bootstrap.min.css'>
</head>
<body>
<header th:insert="common/header.html"></header>
<div class="container">
    <table class="table">
        <thead class="thead-light">
        <tr class="text-center">
            <th scope="col">#</th>
            <th scope="col">제목</th>
            <th scope="col">작성자</th>
            <th scope="col">작성일</th>
        </tr>
        </thead>
        <tbody>
        <tr class="text-center" th:each="post : ${postList}">
            <th scope="row">
                <span th:text="${post.id}"></span>
            </th>
            <td>
                <a th:href="@{'/post/' + ${post.id}}">
                    <span th:text="${post.title}"></span>
                </a>
            </td>
            <td>
                <span th:text="${post.author}"></span>
            </td>
            <td>
                <span th:text="${#temporals.format(post.createdDate, 'yyyy-MM-dd HH:mm')}"></span>
            </td>
        </tr>
        </tbody>
    </table>
    <div class="row">
        <div class="col-auto mr-auto"></div>
        <div class="col-auto">
            <a class="btn btn-primary" th:href="@{/post}" role="button">글쓰기</a>
        </div>
    </div>
</div>
<script src="/webjars/jquery/3.5.1/jquery.min.js"></script>
<script src="/webjars/bootstrap/4.5.0/js/bootstrap.min.js"></script>
</body>
</html>
2. post.html - 글 작성
<!DOCTYPE html>
<html lang="ko" xmlns:th="http://www.thymeleaf.org">
<head>
  <meta charset="UTF-8">
  <title>게시판 - 글쓰기</title>
  <link rel='stylesheet' href='/webjars/bootstrap/4.5.0/css/bootstrap.min.css'>
</head>
<body>
<header th:insert="common/header.html"></header>
<div class="container">
  <form action="/post" method="post">
    <div class="form-group row">
      <label for="inputTitle" class="col-sm-2 col-form-label"><strong>제목</strong></label>
      <div class="col-sm-10">
        <input type="text" name="title" class="form-control" id="inputTitle">
      </div>
    </div>
    <div class="form-group row">
      <label for="inputAuthor" class="col-sm-2 col-form-label"><strong>작성자</strong></label>
      <div class="col-sm-10">
        <input type="text" name="author" class="form-control" id="inputAuthor">
      </div>
    </div>
    <div class="form-group row">
      <label for="inputContent" class="col-sm-2 col-form-label"><strong>내용</strong></label>
      <div class="col-sm-10">
        <textarea type="text" name="content" class="form-control" id="inputContent"></textarea>
      </div>
    </div>
    <div class="row">
      <div class="col-auto mr-auto"></div>
      <div class="col-auto">
        <input class="btn btn-primary" type="submit" role="button" value="글쓰기">
      </div>
    </div>
  </form>
</div>
<script src="/webjars/jquery/3.5.1/jquery.min.js"></script>
<script src="/webjars/bootstrap/4.5.0/js/bootstrap.min.js"></script>
</body>
</html>
resources/templates에 common 폴더 생성 후 header.html 작성한다.
각 페이지의 header를 담당한다.
3. header.html
<div class="navbar navbar-dark bg-dark shadow-sm mb-3">
    <div class="container d-flex justify-content-between">
        <a href="/" class="navbar-brand d-flex align-items-center">
            <strong>게시판</strong>
        </a>
    </div>
 </div>
게시물 작성 구현
- MySQL 에 데이터가 저장
1. Controller
- 사용자의 요청이 진입하는 시점
- 요청에 따라 어떤 처리를 할지 결정해준다
- Model 과 View 사이를 분리
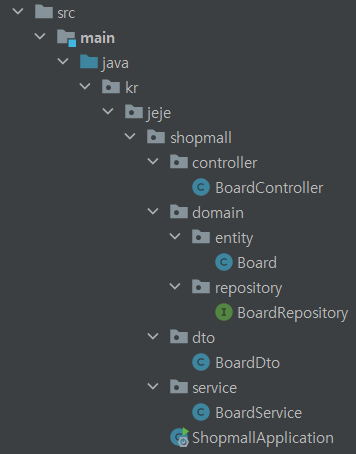
controller 패키지 생성 후 controller/BoardController 작성
@Controller
public class BoardController {

    private BoardService boardService;

    public BoardController(BoardService boardService){
        this.boardService = boardService;
    }

    @GetMapping("/")
    public String list(Model model){
        List<BoardDto> boardDtoList = boardService.getBoardList();
        model.addAttribute("postList", boardDtoList); //boardDtoList를 board/list.html에 전달
        return "board/list.html";
    }

    @GetMapping("/post")
    public String post(){
        return "board/post.html";
    }

     @PostMapping("/post")
    public String write(BoardDto boardDto) {
        boardService.savePost(boardDto);
        return "redirect:/";
    }
}
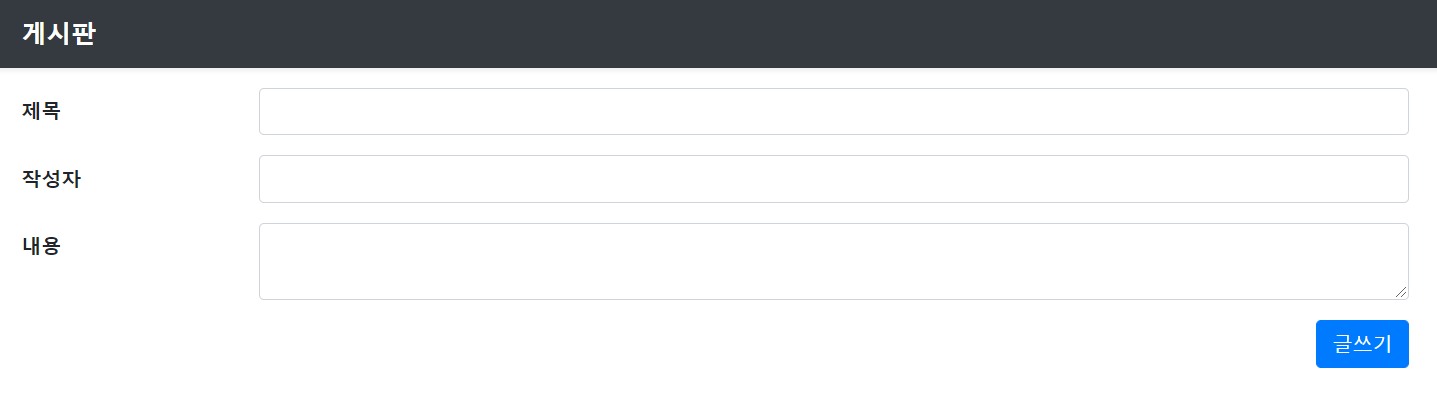
localhost:8080에 접속하면 다음과 같다.

글쓰기버튼을 누르면 localhost:8080/post로 넘어가면서 글 작성이 가능하다.
아직까지는 입력된 값이 저장되지 않는다.
post 요청을 받고 Service에서 처리되도록 한다.
2. Entity
- DB 테이블과 매칭될 클래스
domain 패키지 생성 후 그 안에 entity 패키지를 또 생성한다.
domain/entity/Board 생성
@Getter
@Entity
@NoArgsConstructor(access = AccessLevel.PROTECTED)
@EntityListeners(AuditingEntityListener.class)
public class Board {
    @Id
    @GeneratedValue
    private Long id;

    @Column(length = 10, nullable = false)
    private String author;

    @Column(length=100, nullable = false)
    private String title;

    @Column(columnDefinition = "TEXT", nullable = false)
    private String content;

    @CreatedDate
    @Column(updatable = false)
    private LocalDateTime createdDate;

    @LastModifiedDate
    private LocalDateTime modifiedDate;

    @Builder
    public Board(Long id, String author, String title, String content){
        this.id = id;
        this.author= author;
        this.title = title;
        this.content = content;
    }
}
shopmallApplication에 @EnableJpaAuditing 추가한다.
@EnableJpaAuditing
@SpringBootApplication
public class ShopmallApplication {

	public static void main(String[] args) {
		SpringApplication.run(ShopmallApplication.class, args);
	}

	@Bean
	public HiddenHttpMethodFilter hiddenHttpMethodFilter(){
		return new HiddenHttpMethodFilter();
	}
}
3. Repository
domain 패키지에 repository 패키지 생성 후 BoardRepository 인터페이스를 생성한다.
Spring Data JPA에서 제공하는 JpaRepository 인터페이스를 상속받는다.
public interface BoardRepository extends JpaRepository<Board, Long> {
}
4. DTO
- controller-service 사이에서 데이터를 주고 받는다.
@Getter
@Setter
@ToString
@NoArgsConstructor
public class BoardDto {
    private Long id;
    private String author;
    private String title;
    private String content;
    private LocalDateTime createdDate;
    private LocalDateTime modifiedDate;

    public Board toEntity() {
        Board build = Board.builder()
                .id(id)
                .author(author)
                .title(title)
                .content(content)
                .build();
        return build;
    }

    @Builder
    public BoardDto(Long id, String author, String title, String content, LocalDateTime createdDate, LocalDateTime modifiedDate) {
        this.id = id;
        this.author = author;
        this.title = title;
        this.content = content;
        this.createdDate = createdDate;
        this.modifiedDate = modifiedDate;
    }
}
5. Service
- 글쓰기 버튼을 누르면 post 형식으로 요청이 온다
- BoardService의 savePost()를 실행
service 패키지 생성 후 BoardService 클래스 생성
@Service
public class BoardService {
    private BoardRepository boardRepository;

    public BoardService(BoardRepository boardRepository) {
        this.boardRepository = boardRepository;
    }

    @Transactional
    public Long savePost(BoardDto boardDto) {
        return boardRepository.save(boardDto.toEntity()).getId();
    }
}